 PCB & 3D files: https://github.com/jyjblrd/camera-flash
A bit of background
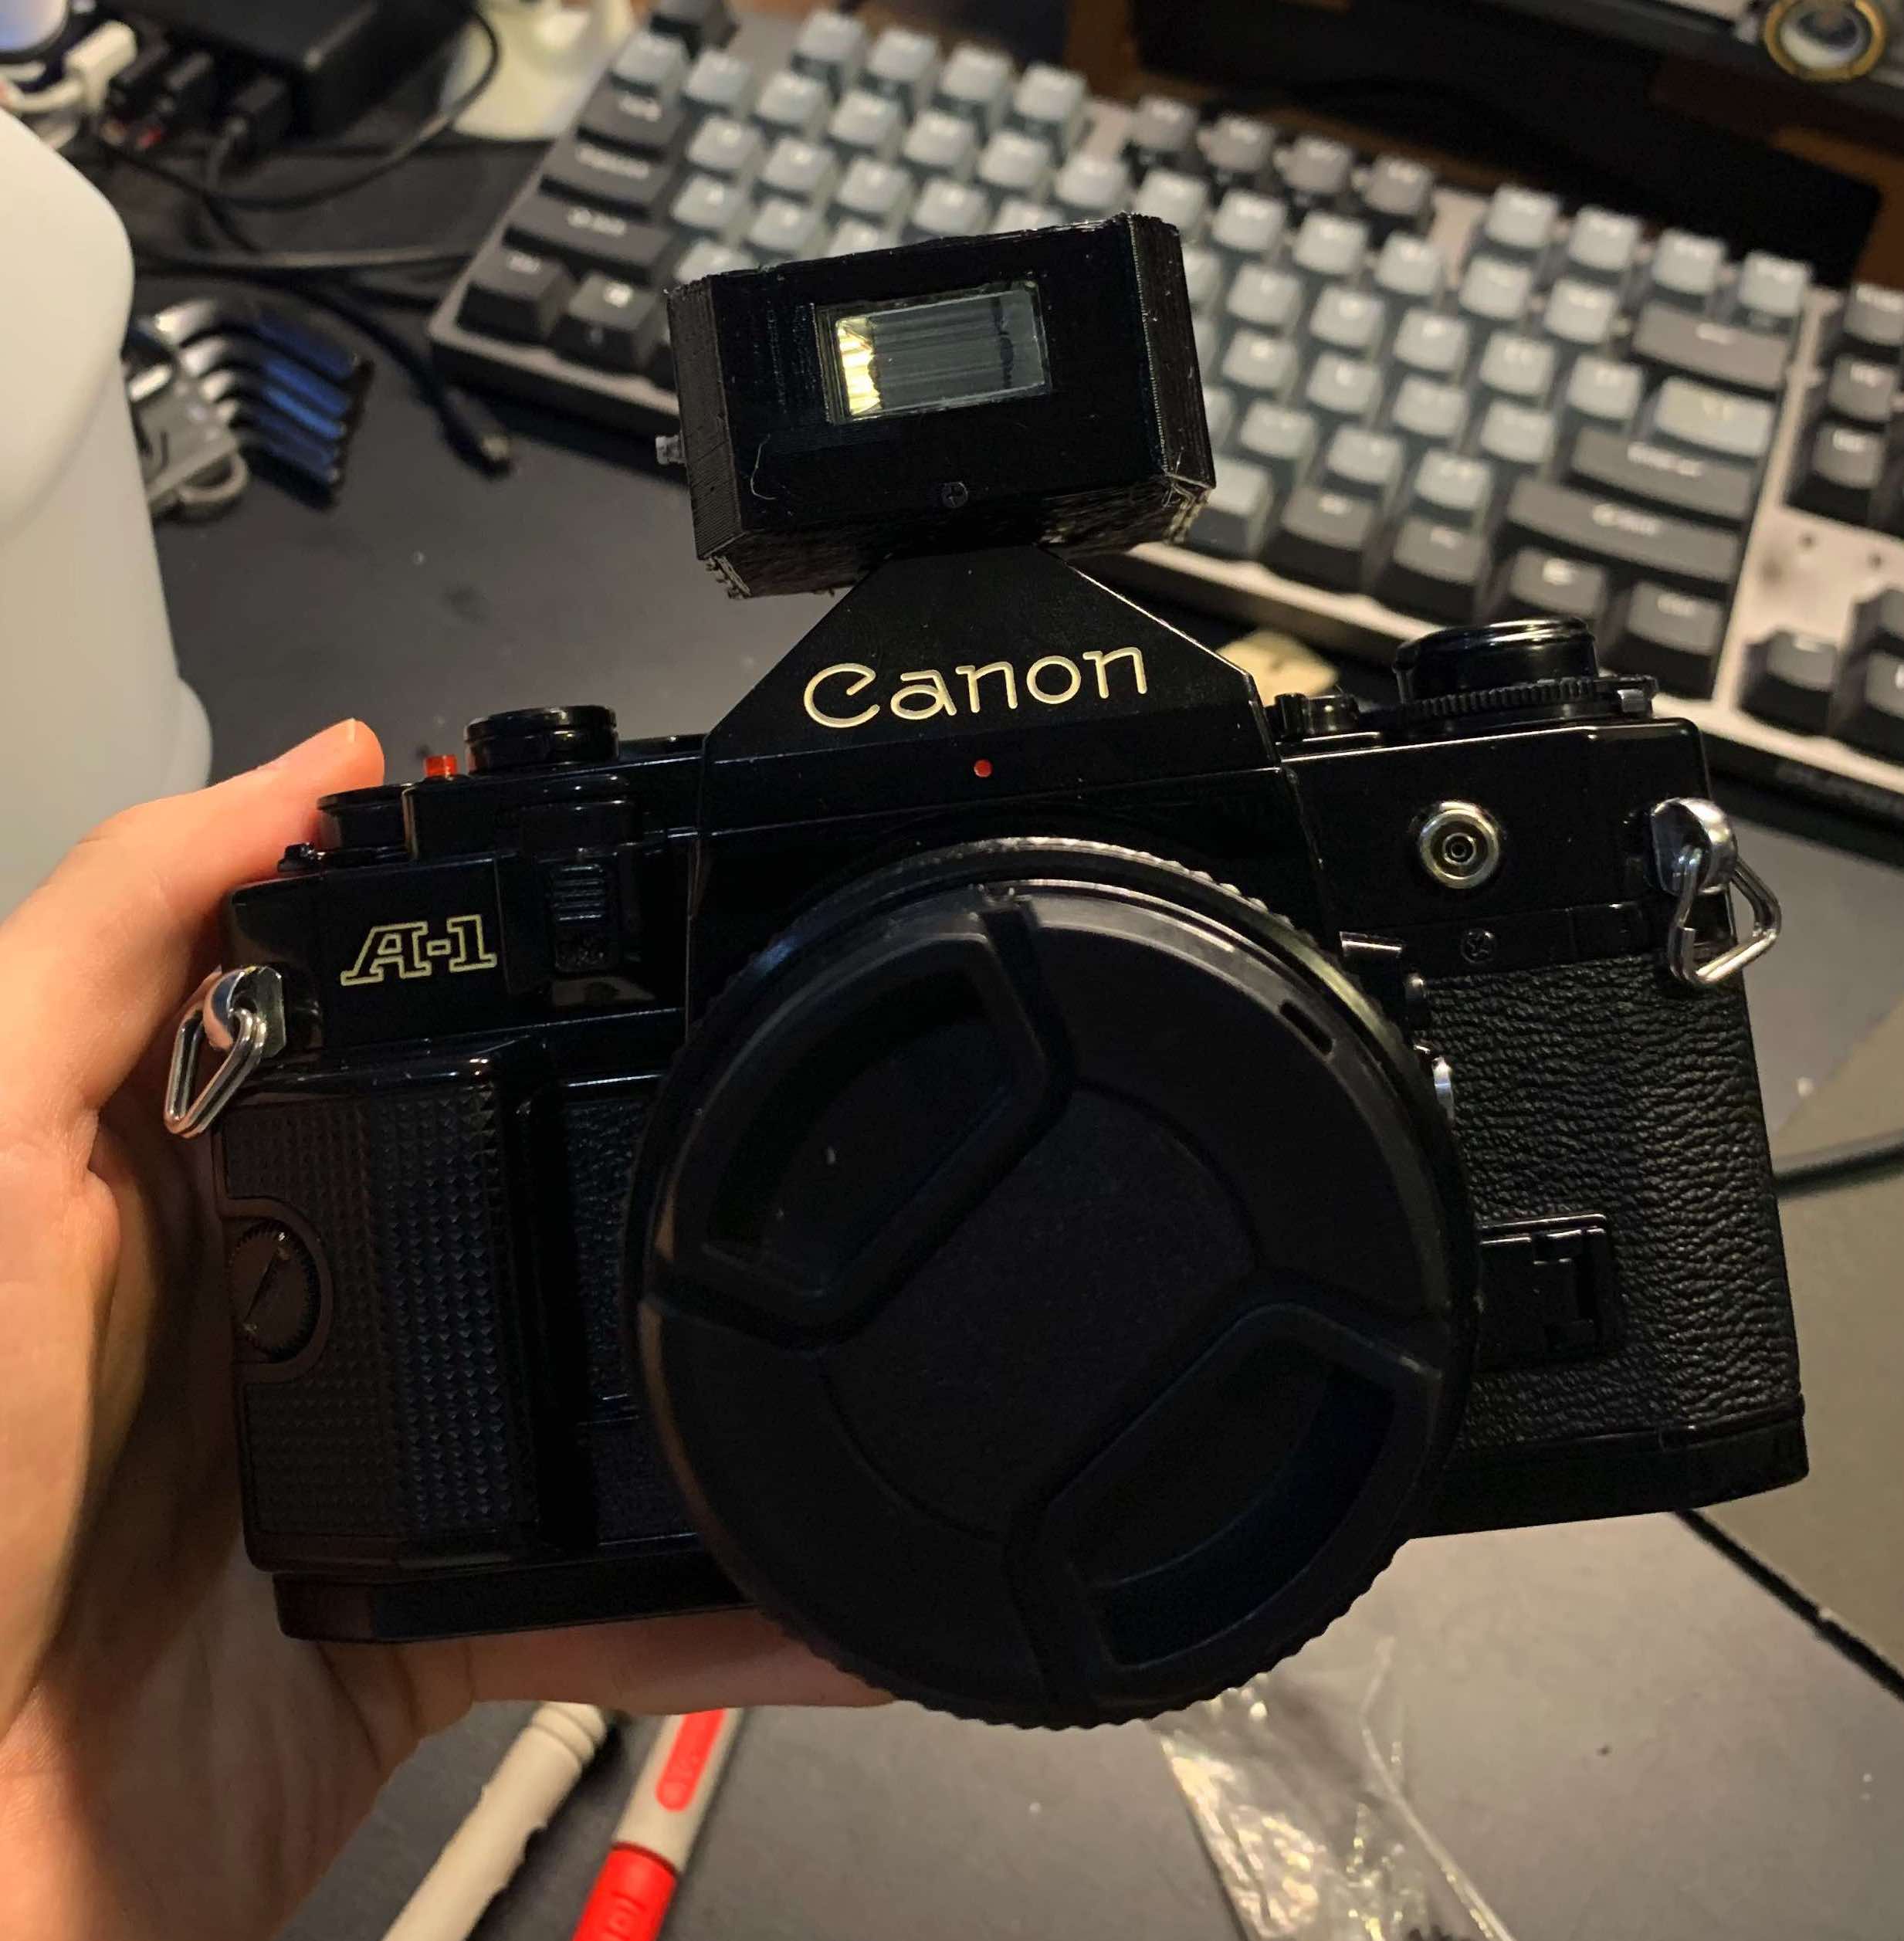
Recently I bought a film camera from the 1970's – the Canon A-1. Considering that the camera is almost 3x older than me, it was no surprise that there are a few issues with it. The first camera I got jammed before I even loaded in my first roll, and the replacement camera had a battery drainage issue (which took an almost almost completely disassembly to fix).
But anyway, that isn't the point of this blog post. Electrical problems aside, my main issue with this camera is its lack of a flash. Unbeknownst to me when I bought this camera, film cameras can't really operate without a ridiculous amount of light (at least by moden camera standards). Even in a reasonably lit room, the camera struggles to take photos without the help of a tripod. This led to me trying some creative solutions, with limited success.

I tried to find a camera flash online, but all of them were huge – like almost bigger than the actual camera. I didn't exactly want to show up to parties looking like the paparazzi, so I decided to make my own small flash module.
Making the flash
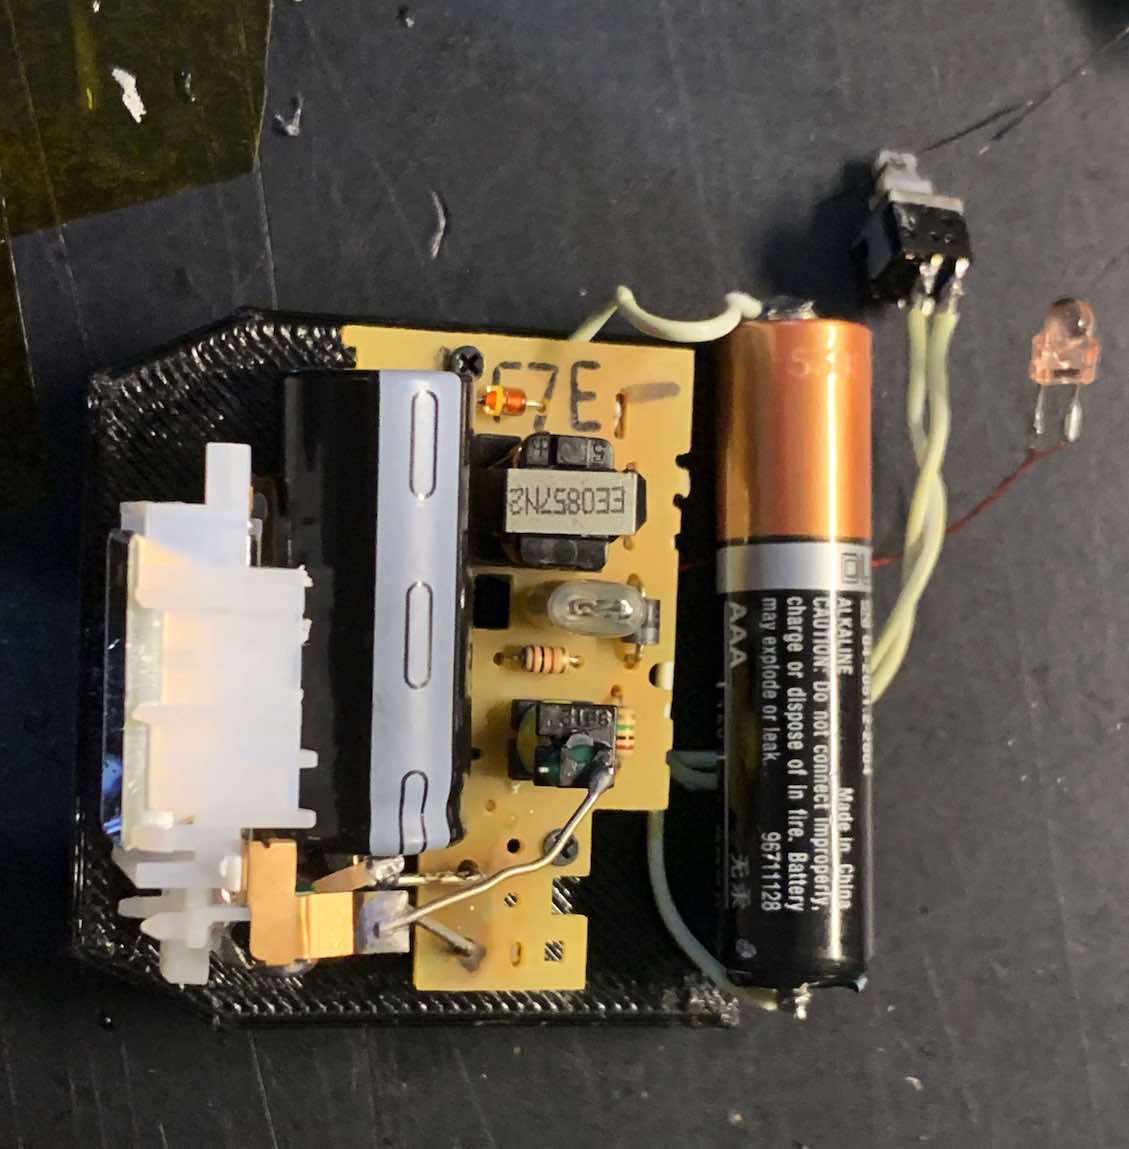
The camera flash I built uses the flash circuit from a cheap fuji quicksnap disposable camera which I got for only 50hkd (7usd). Make sure to discharge the capacitor before handling the circuit! It's charged up to 300v, so you really don't want it to touch it while it's still charged.
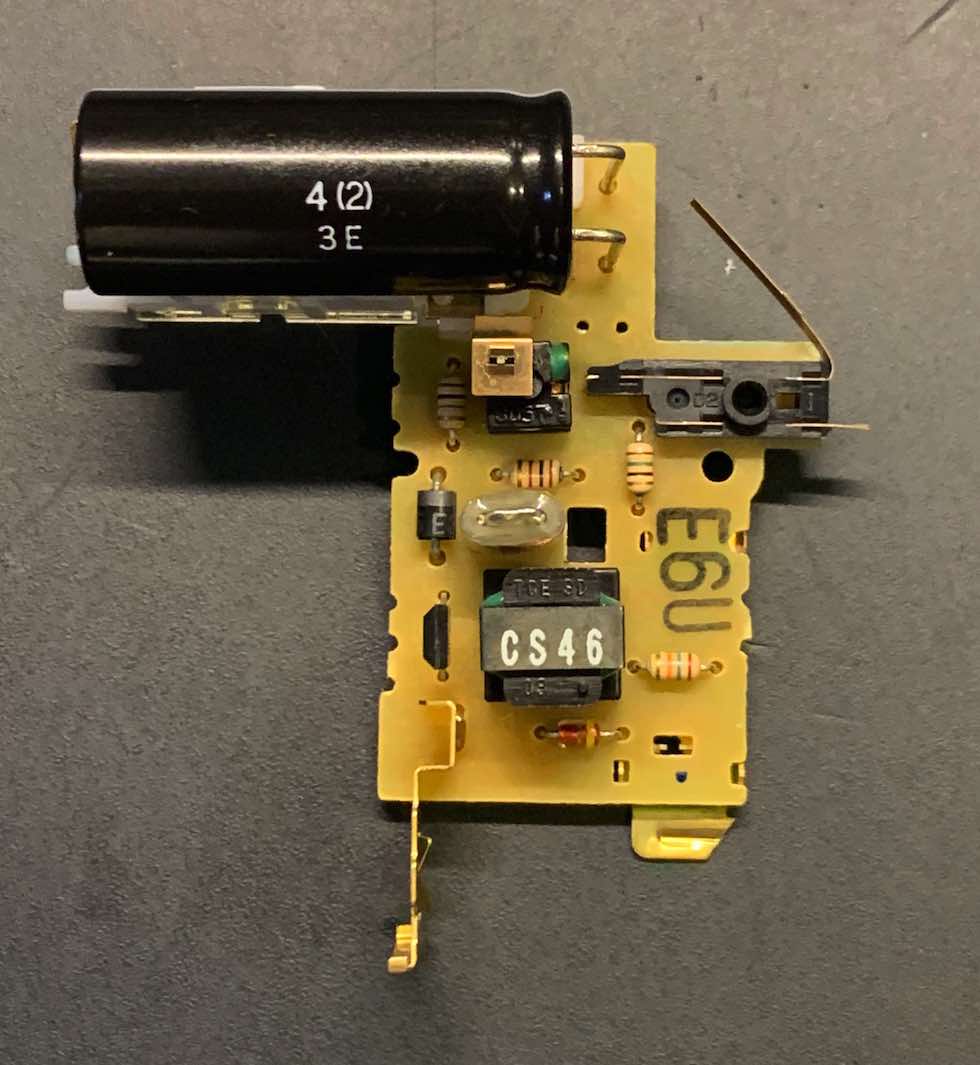
There are two switches in the circuit: one to charge the cap and one to trigger the flash. For the charging switch, I simply attached a toggle switch up to it. The trigger switch was a bit more complicated however. It should be wired up to the camera's hot shoe so that the flash will trigger exactly when the photo is taken. However, wiring the trigger directly to the hot shoe would cause a couple hundred volts to pass through the camera, frying it. (Note: Some older cameras would be fine with this voltage because they have physical trigger contacts, however newer camera would definitely get damaged).
I instead designed and ordered a pcb based on this schematic. You can find the pcb files on my github. This circuit takes in the ~300v trigger voltage and turns it into a 5v for the camera's hotshoe. Click on the link for the schematic for a really good explanation on how the circuit works.
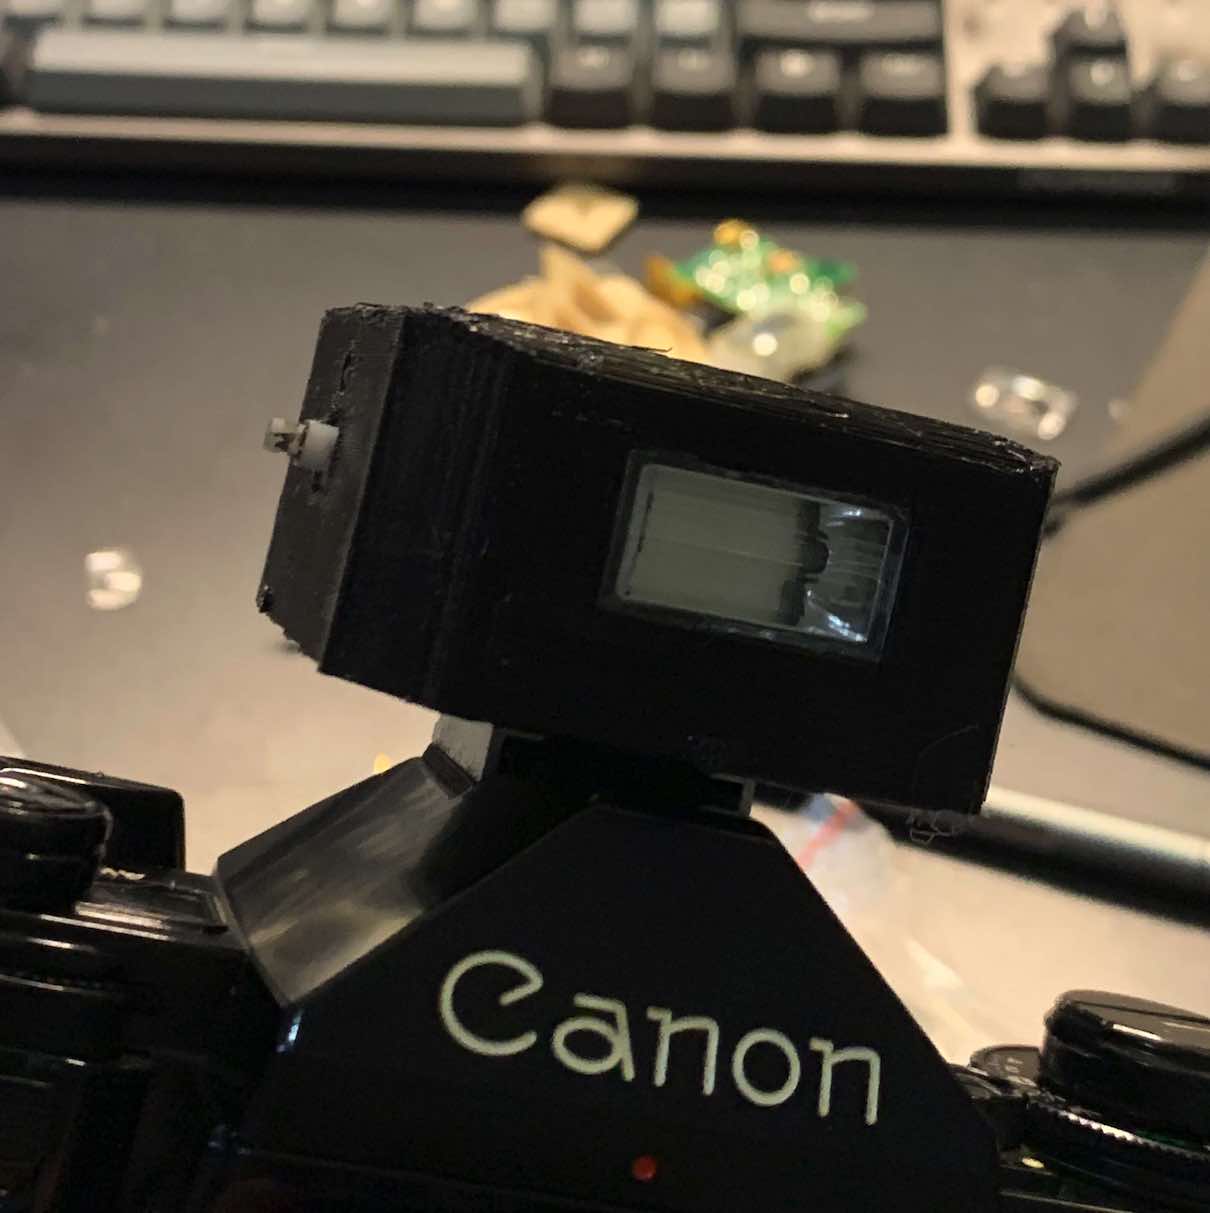
I then modeled up an enclosure for the circuits, along with a hotshoe with contacts. The contacts used in the 3d printed hotshoe are taken from the copper contacts on the disposable camera's pcb. And that's it! I now have a small camera flash.
How to use the flash
You may have noticed that there are no settings on the flash at all. The big bulky flashes allow you to select the distance of your subject and tell you what aperture to use, but my flash has nothing like that at all. I simply just use the disposable camera's fixed settings of f/10 @ 400 ISO (adjust aperture depending on your film's ISO). You should also keep the subject within ~3m. This gives the flash a theoretical guide number of 50, but who knows how accurate that is considering its a cheap disposable camera.
Conclusion
I ended up meeting all of my initial goals for this project. I now have a "discreet" flash for my film camera that works perfectly for my purposes. The hotshoe contacts are a little bit finicky, so I might buy a pc sync cord so I can use the pc socket in my camera which will have a much more reliable connection.