Github (Code, 3D files, PCB files): https://github.com/jyjblrd/ledcube
The Hardware
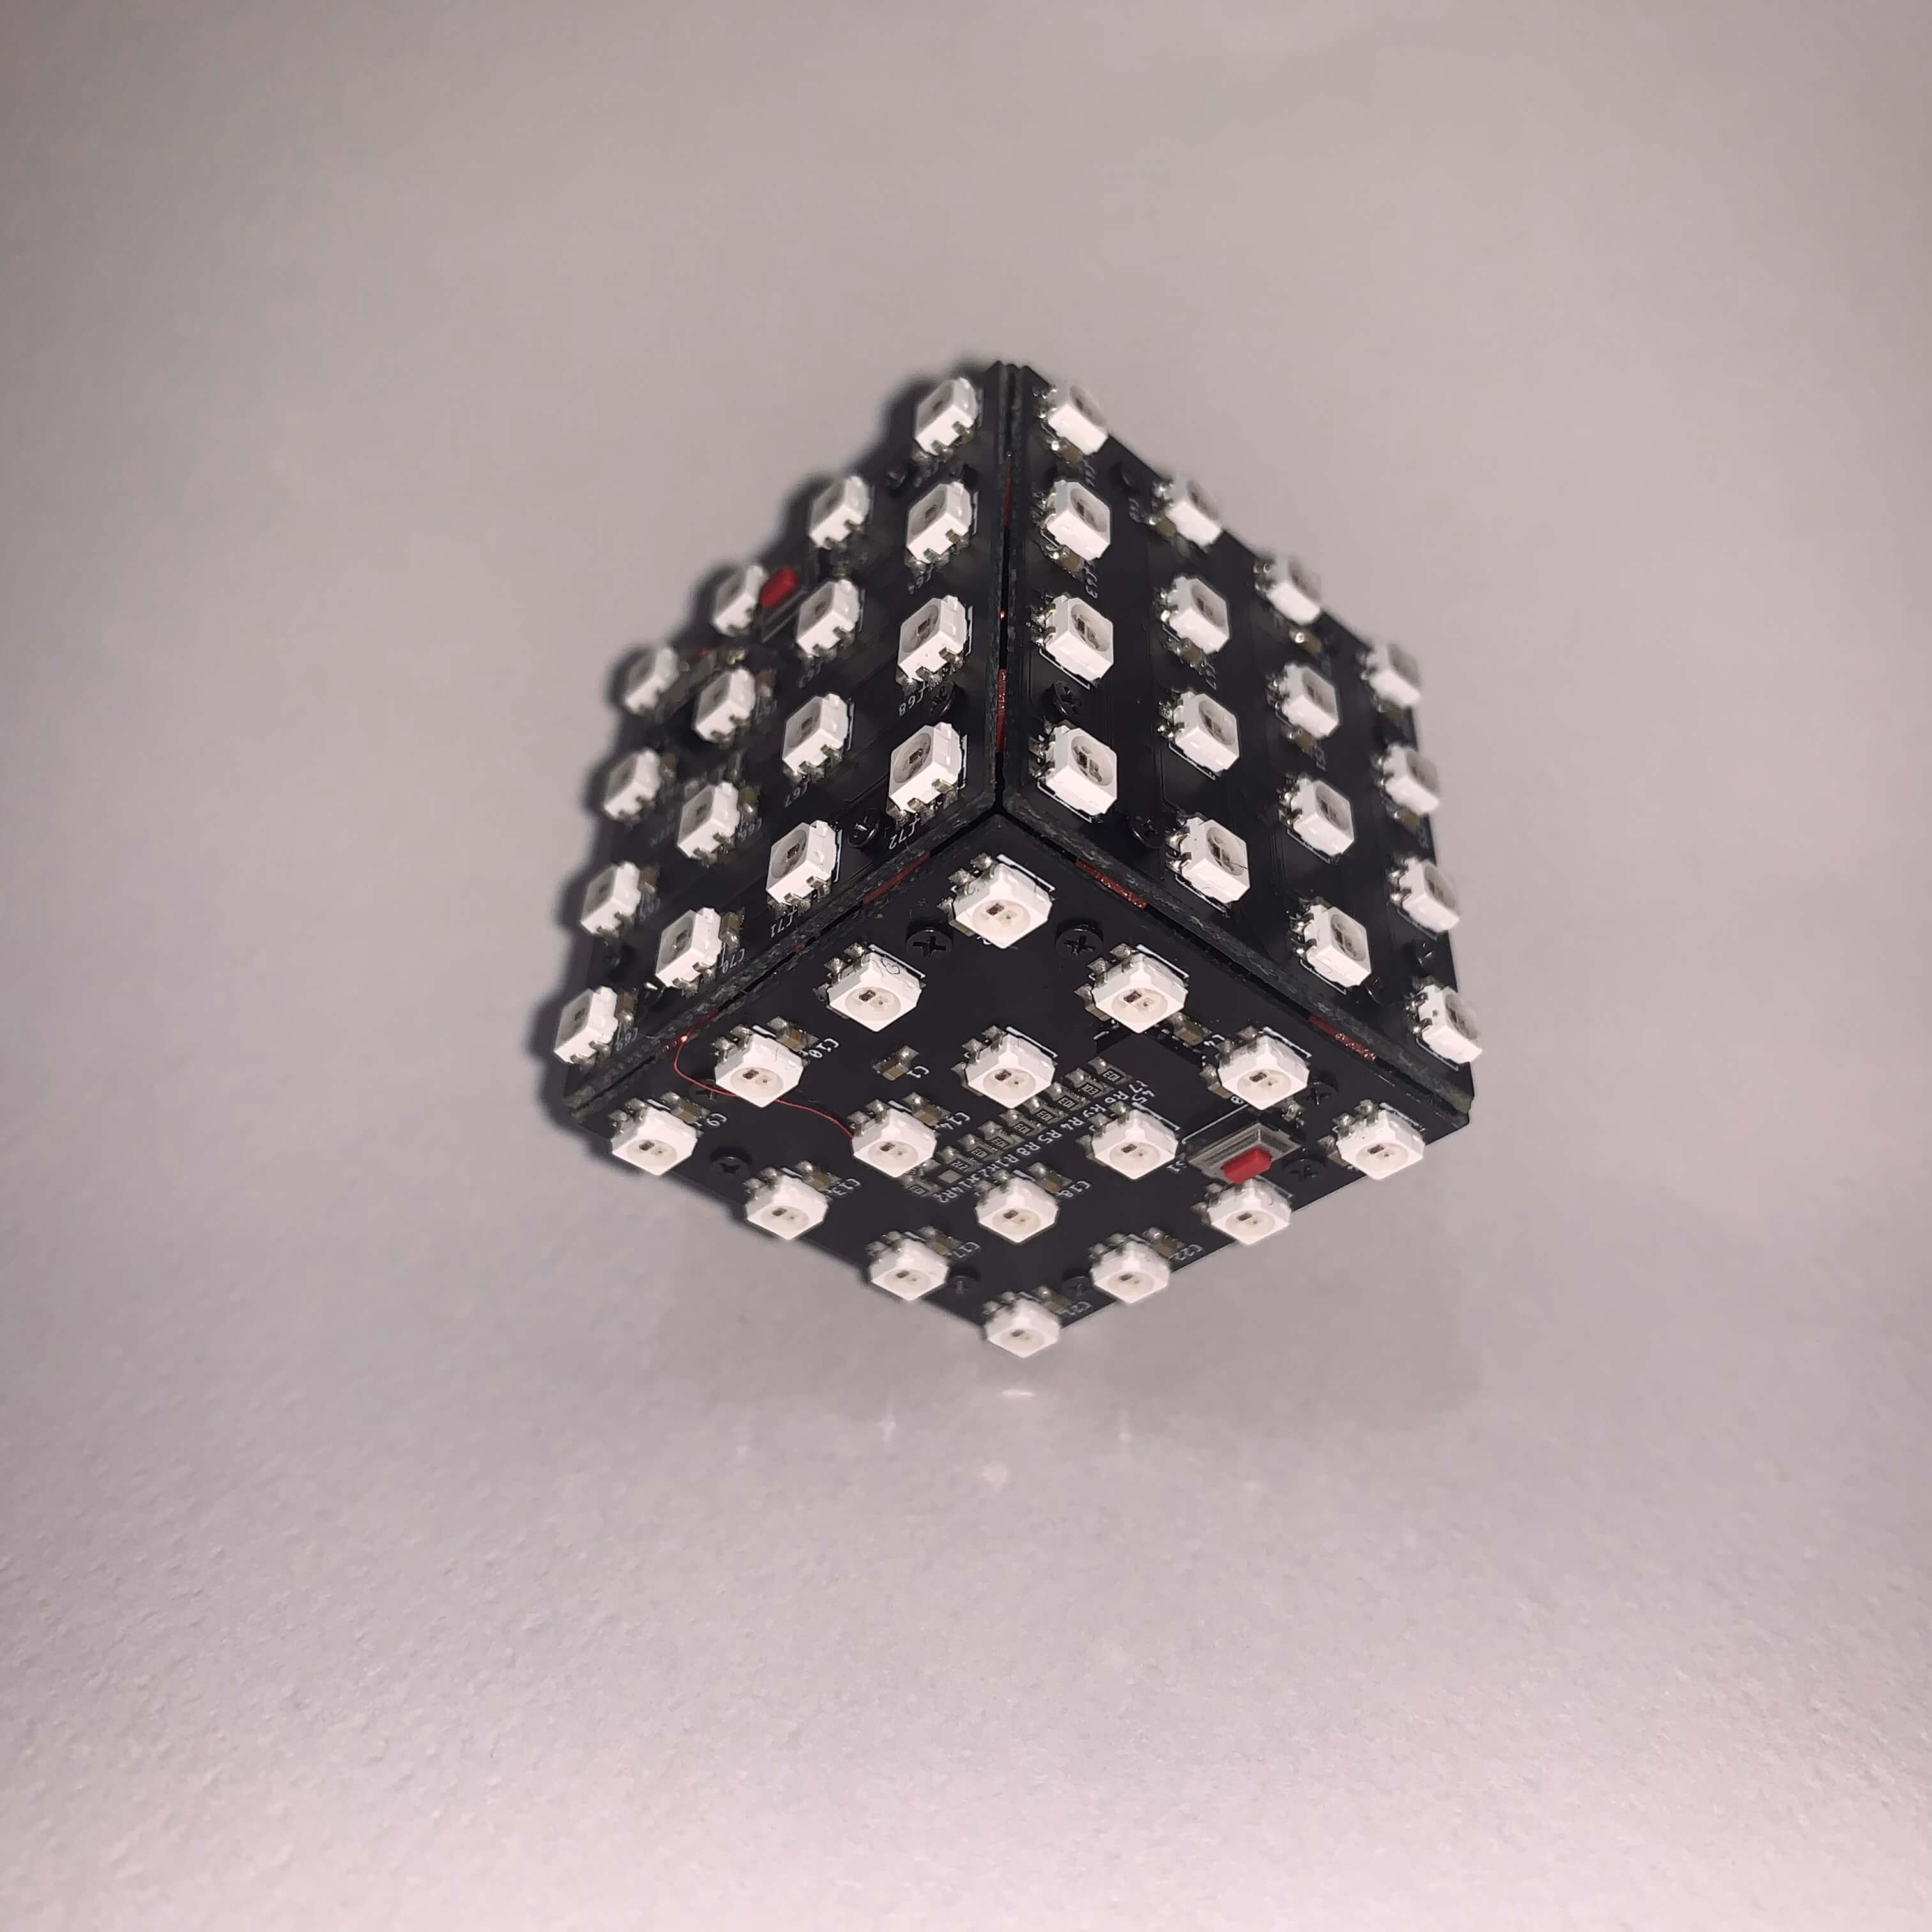
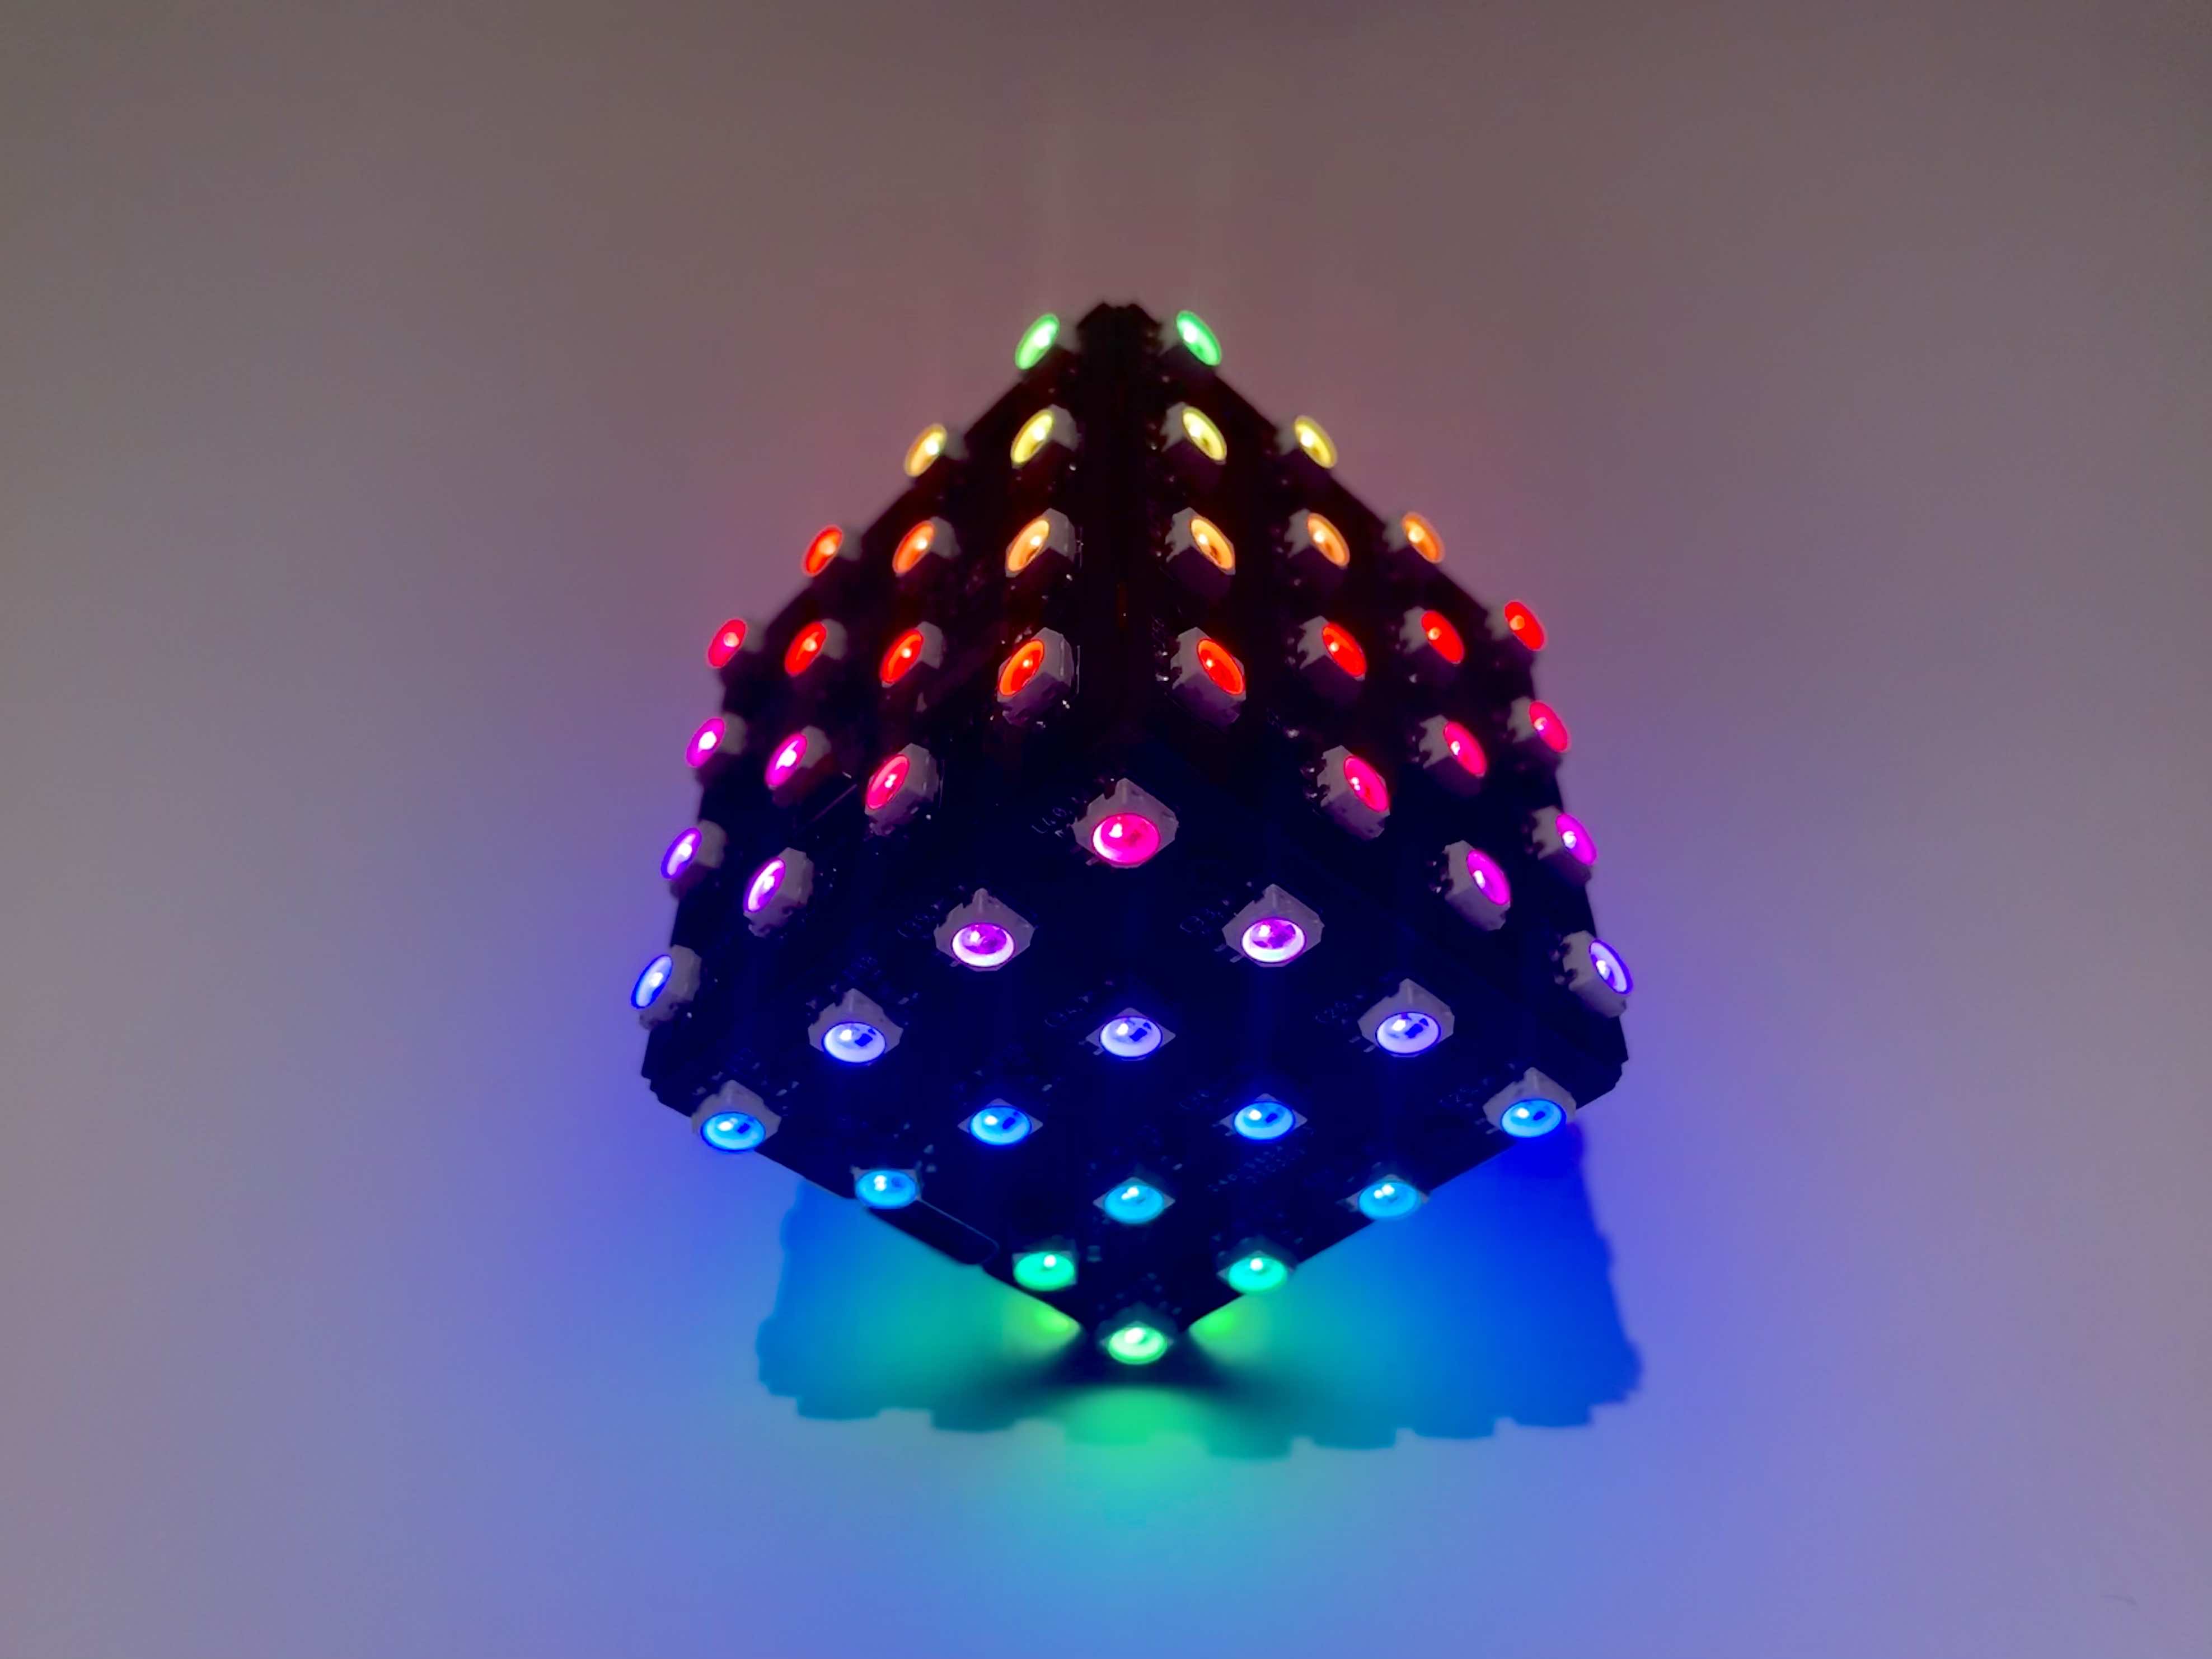
The LedCube is a made out of 6 sides of 16 LEDs for a total of 96 individually addressable RGB LEDs. The cube's sides are about 35mm, which really doesn't leave much space to put all the electronics. The cube is made out of 3 main boards:
- Main Board (microcontroller & accelerometer)
- USB Board (USB-C & communication)
- Power Board (battery charger, voltage reg & microcontroller reset logic)
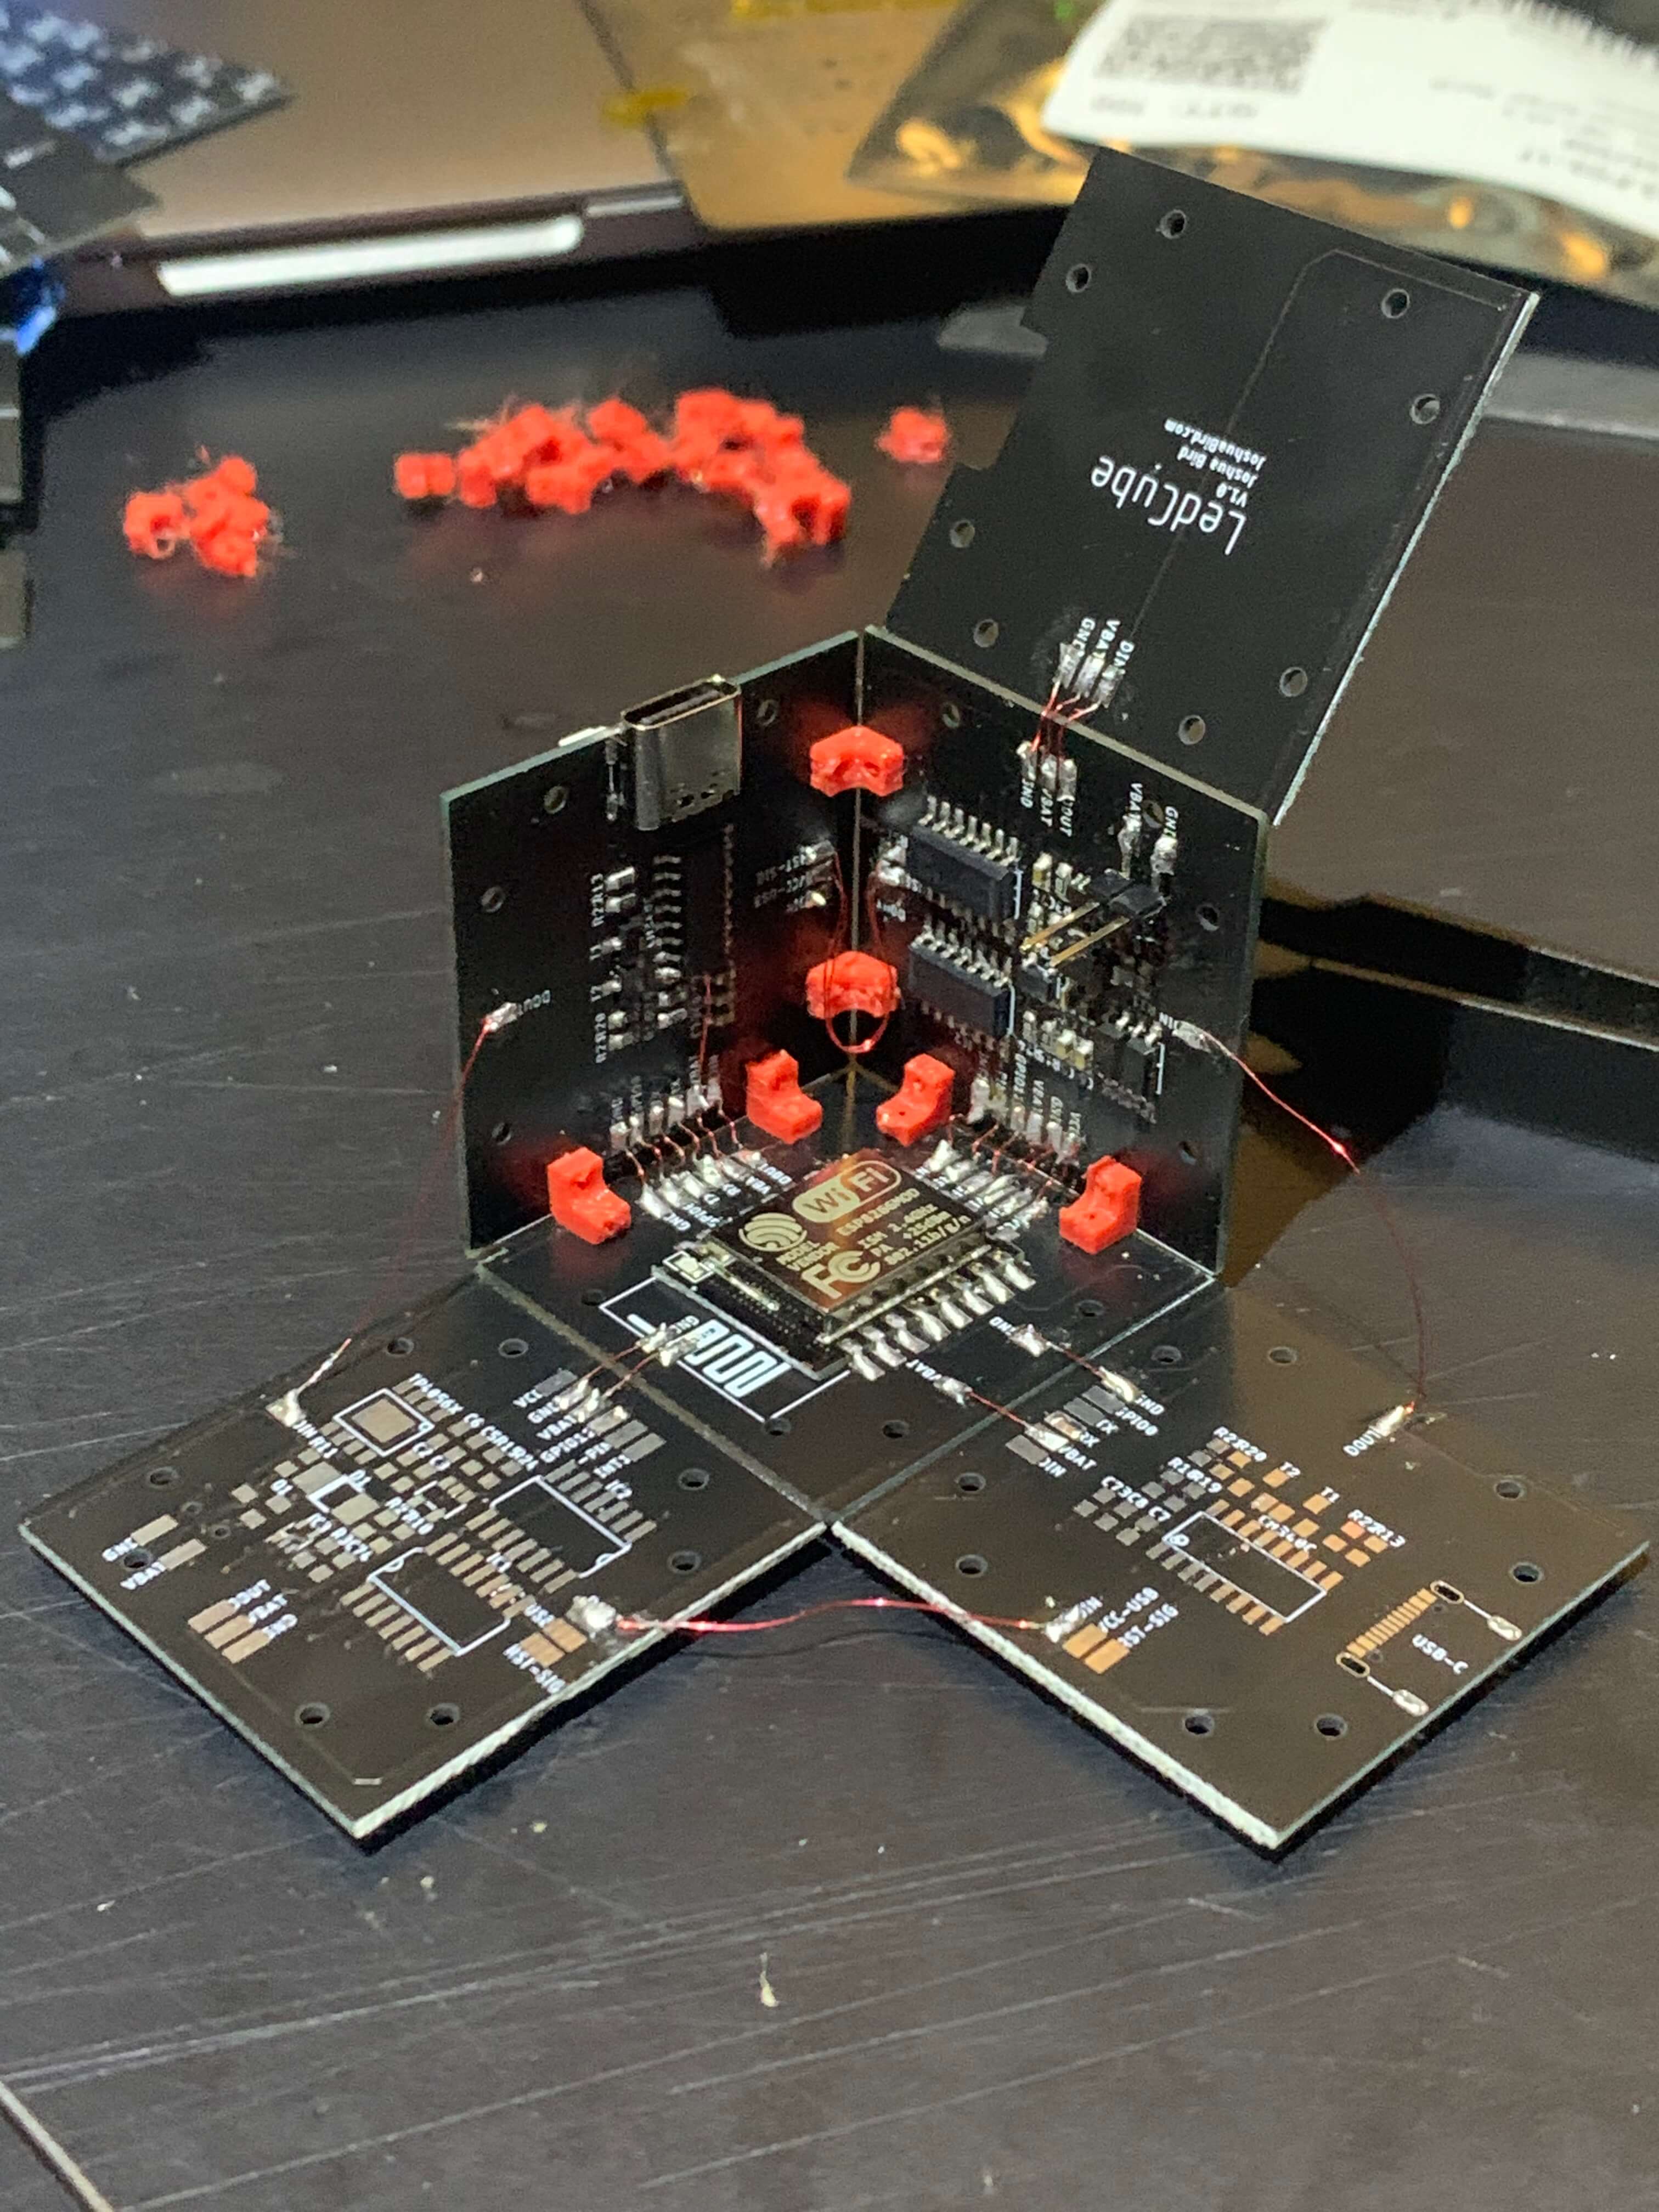
1. Main Board
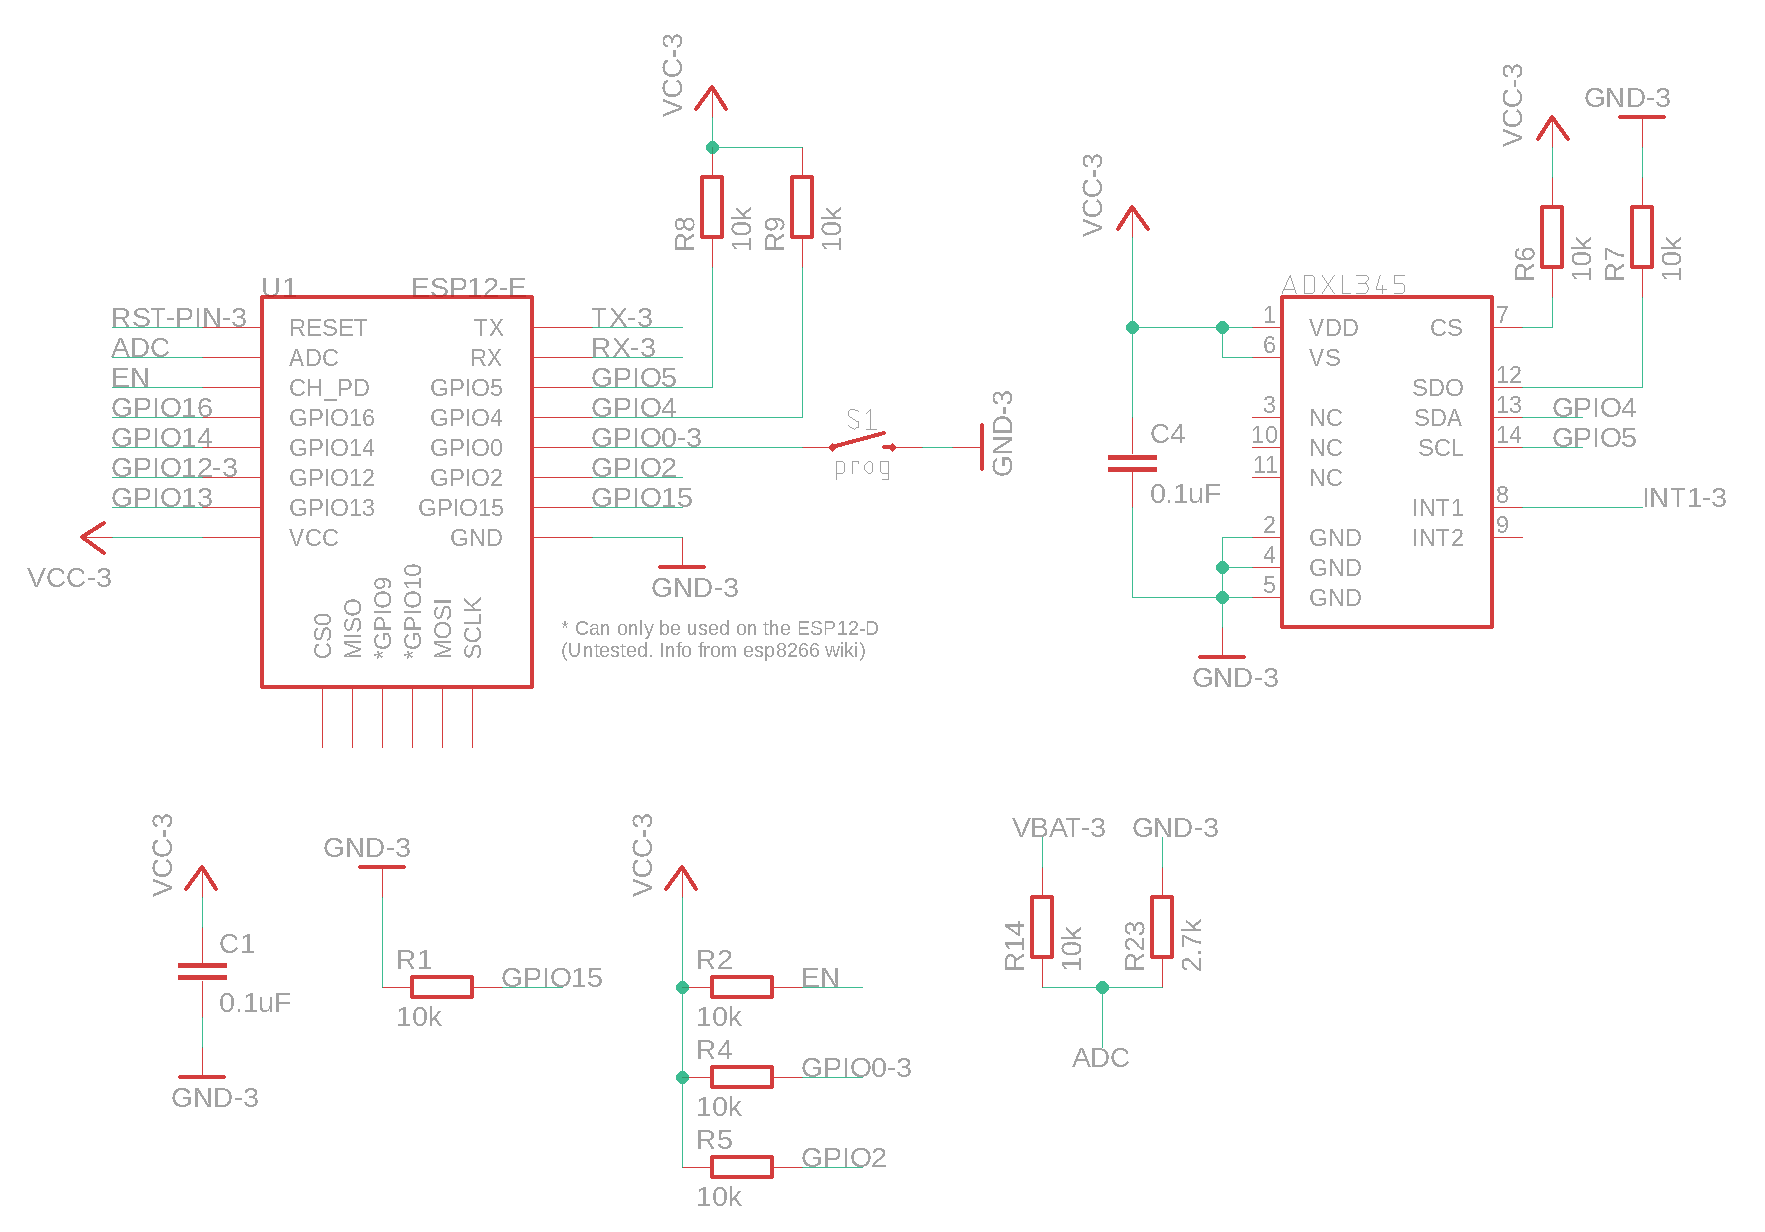
I chose to use the esp8266 (esp-12f) as the microcontroller for this project since I had a bunch of them lying around. Unfortunately I had to cut off the WiFi antenna to fit it on the PCB, but a smaller microcontroller such as the ESP8285-01F would definitely fit. For the accelerometer, I used the ADXL345 which is an easily accessible accelerometer commonly used with arduino projects.
2. USB Board
 The LedCube has a built in USB to TTL chip (CH340) and programming circuit which allows you to easily program the esp8266 without having to press the programming button. This was one of my requirements for the project, since pressing the programming button on the esp8266 gets quite annoying after a while. Additionally, the USB-C socket makes it easy to connect the LedCube to my MacBook, I'm never using a micro USB on any of my projects again.
3. Power Board
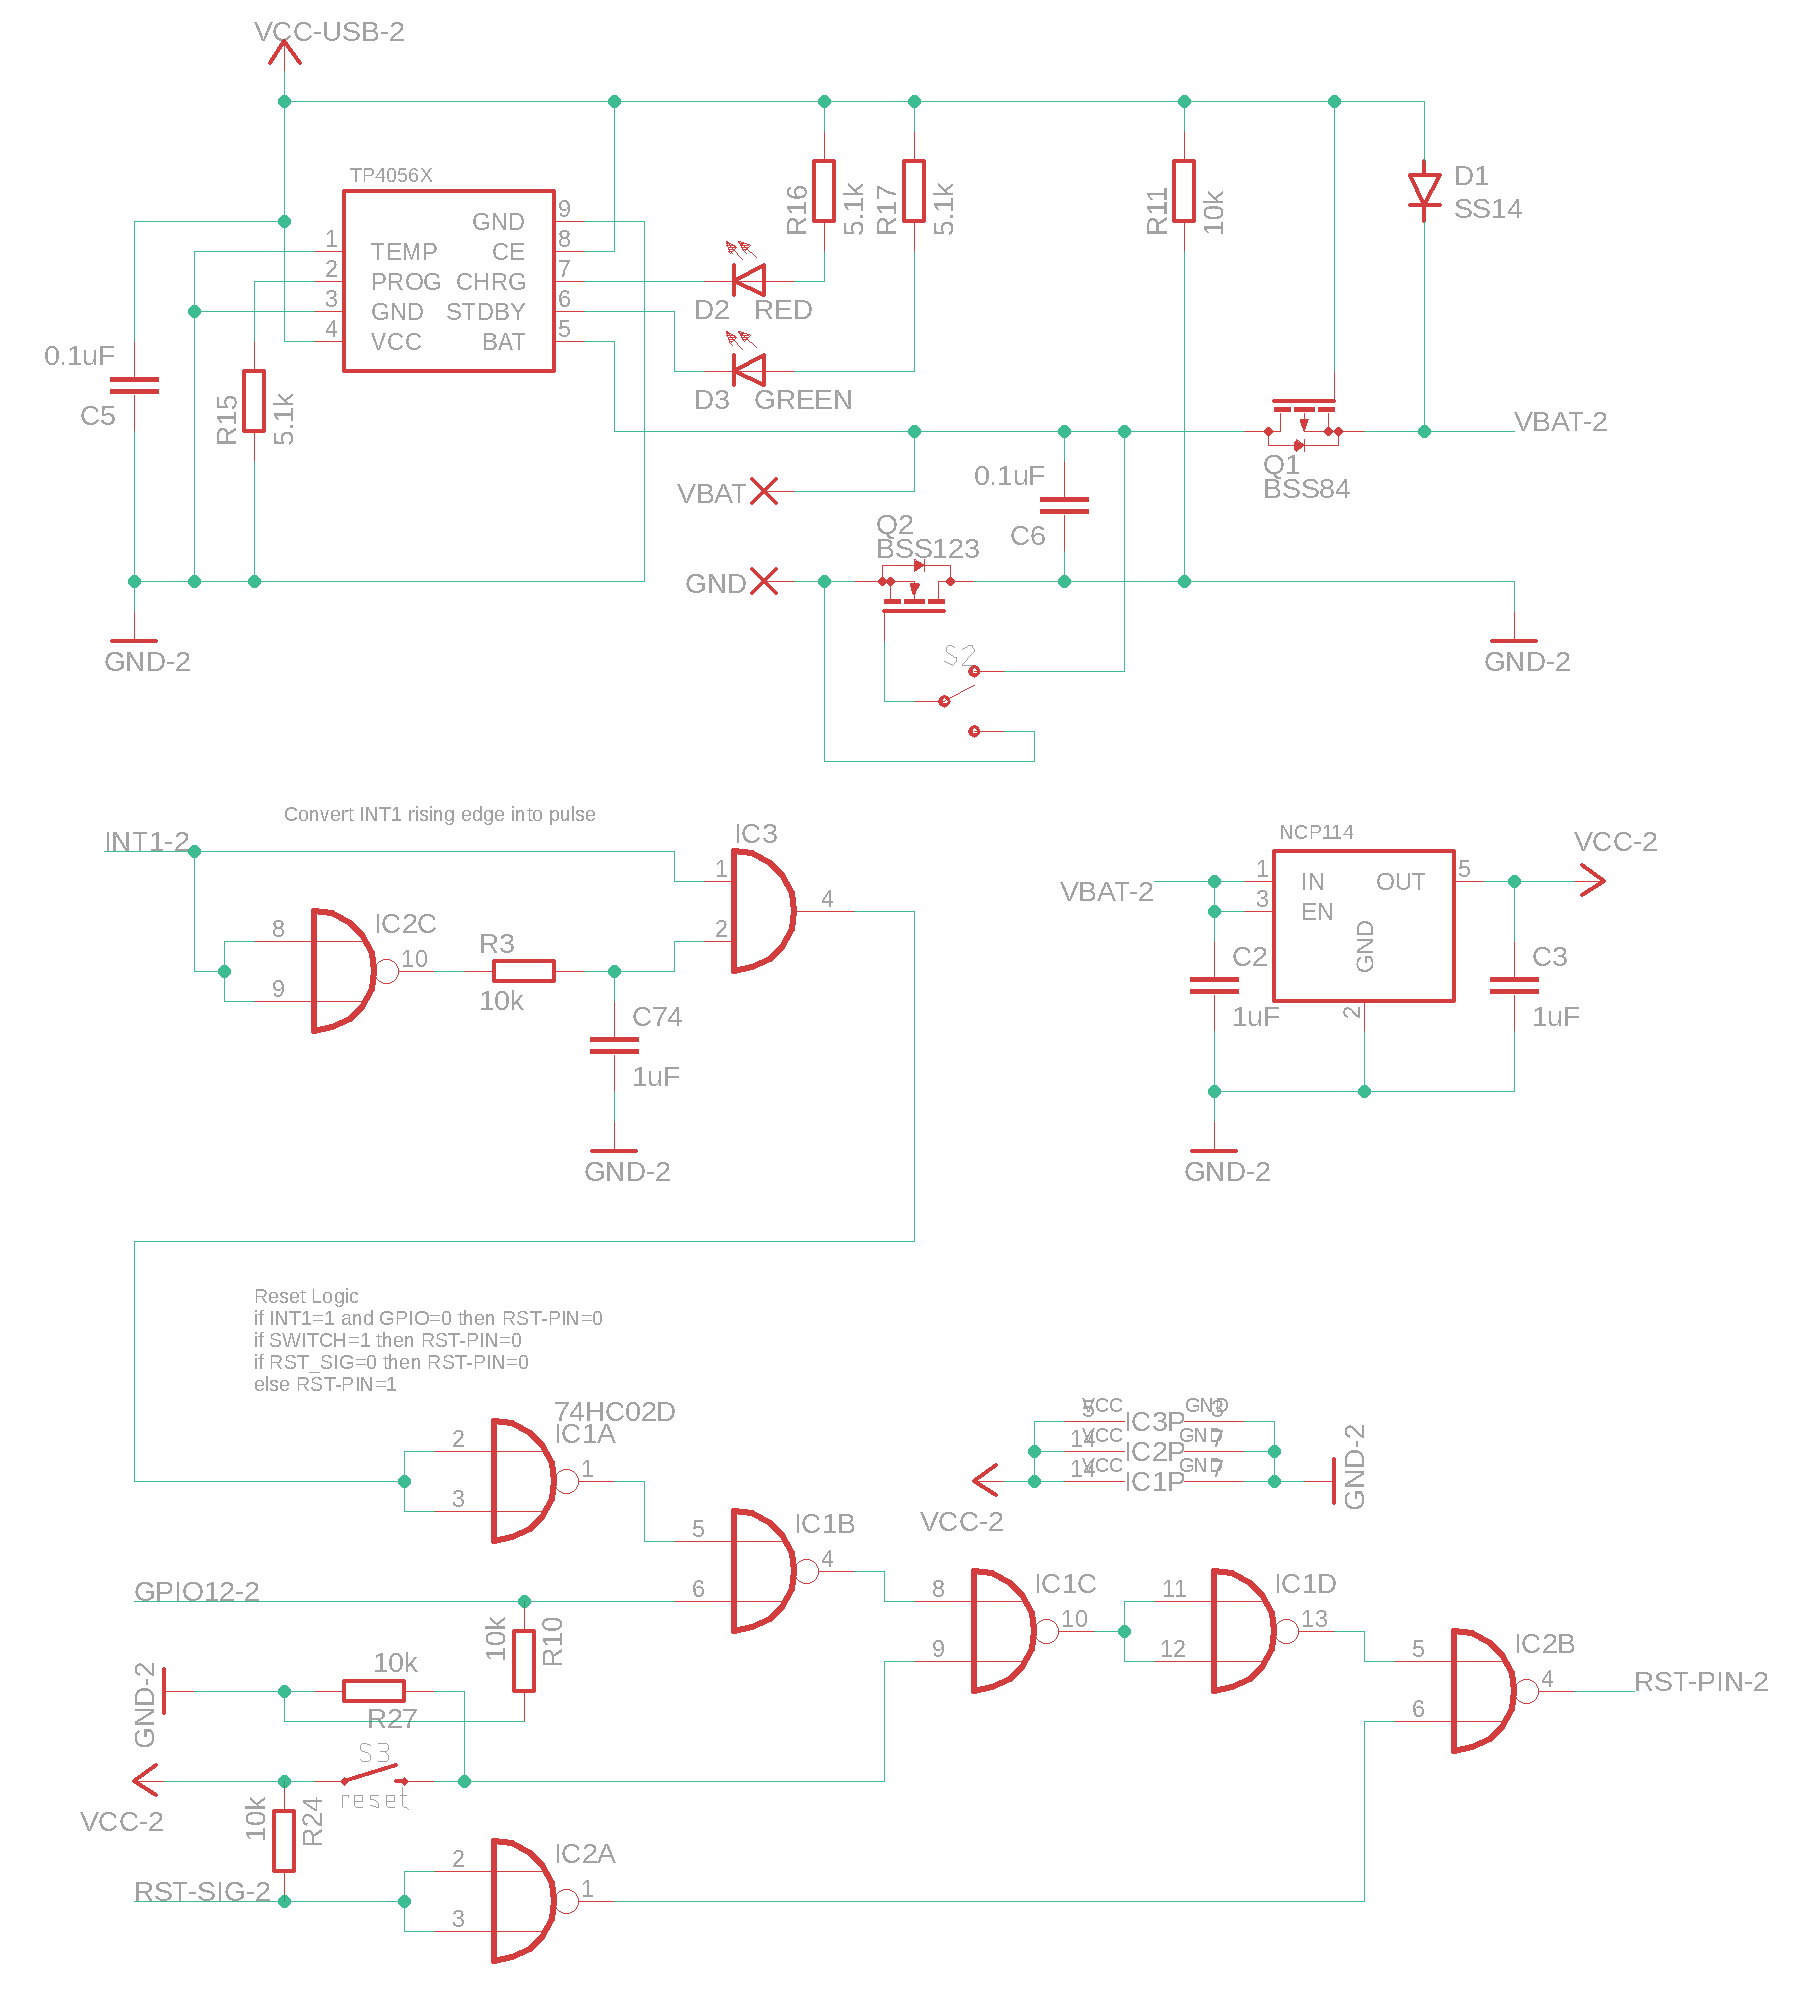 The power board contains the battery charging circuit, on/off switch, low dropout regulator and logic the microcontroller reset circuit.
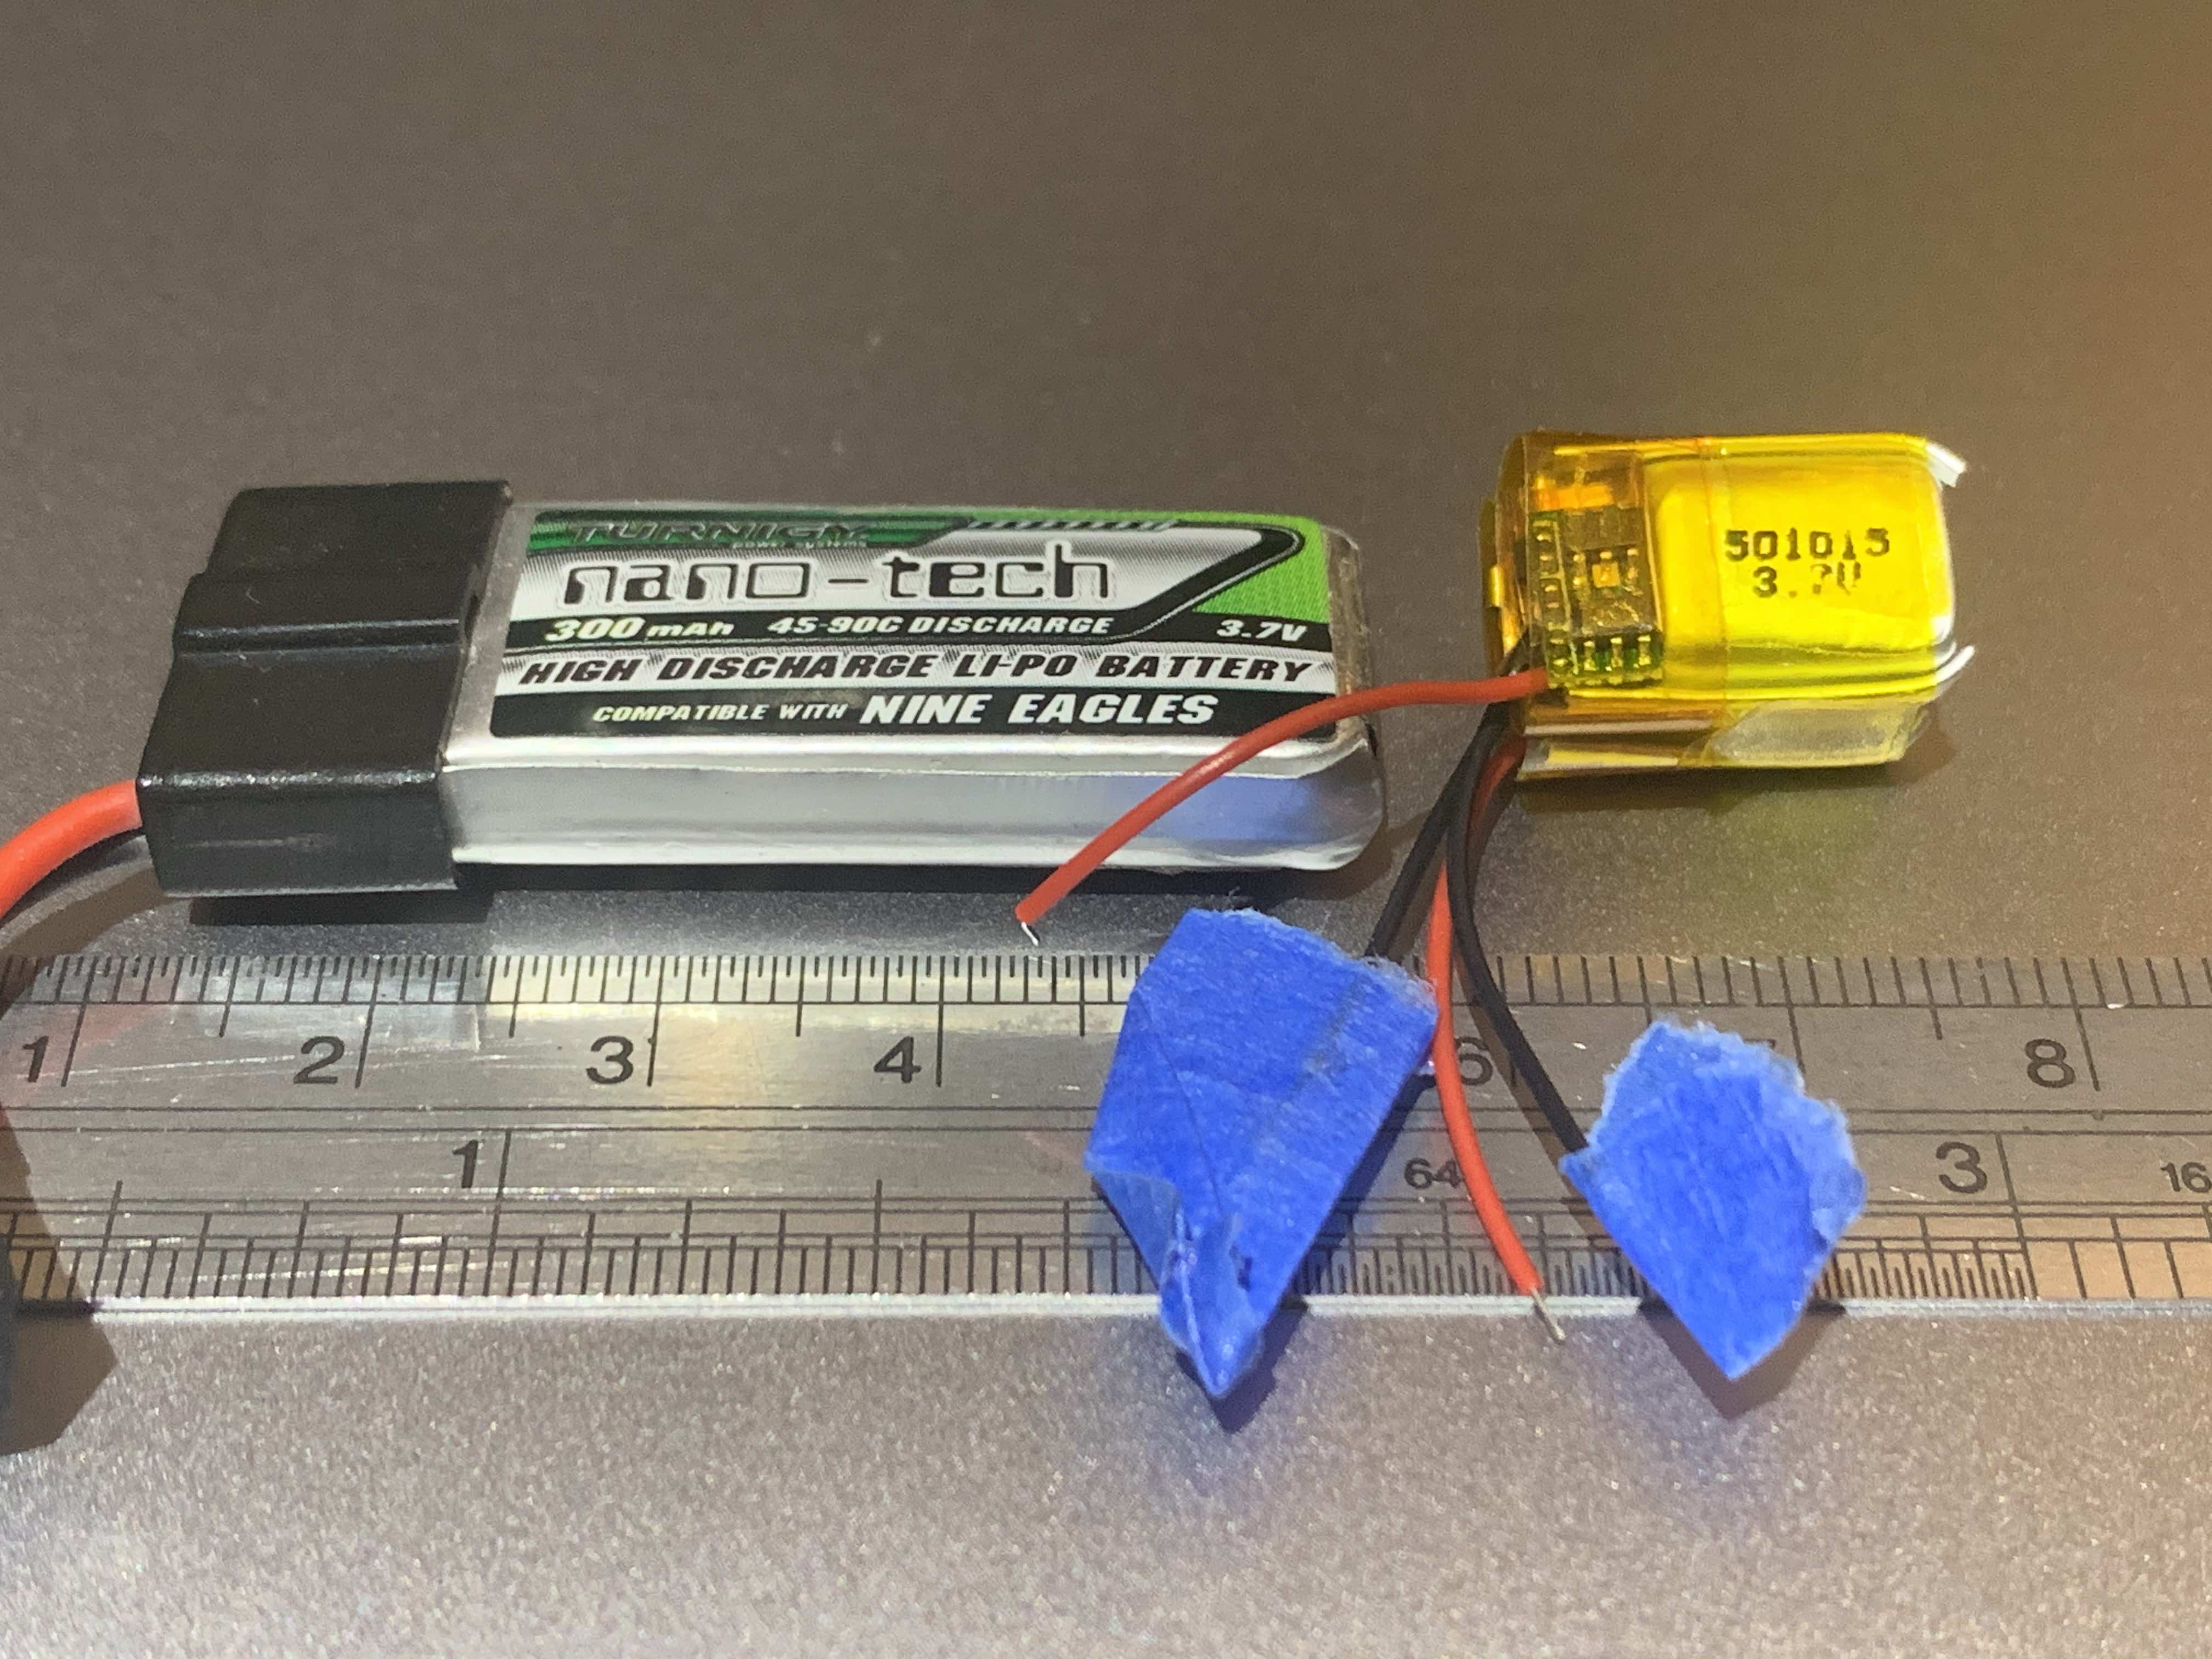
For the battery charger, I used the TP4056 chip which is a pretty standard 1 cell LiPo charger. This is combined with a circuit to switch over to USB power when the cable is plugged in, and another circuit which turns the LedCube on and off. The Lipo I used is apparently 400mah, but the battery is absolutely tiny so i'm pretty sure the aliexpress seller was lying to me. Either way, it lasts for about half an hour per charge so that's good enough.
The LDO regulator is a NCP114 which provides 300mA at 3.3v with a very low drop voltage (essential for battery powered applications like this). The voltage regulator doesn't power the RGB LEDs; they LEDs are connected straight to the battery.
The power board also has a few logic chips on it, which determine when to reset the microcontroller. Putting it simply, this circuit allows the microcontroller to be woken by either:
- An interrupt signal from the accelerometer, but only when the microcontroller is in deep sleep
- The physical reset button
LEDs
The LEDs are WS2812B-mini which are individually addressable RGB LEDs which are commonly used in arduino projects. They are only rated for a min voltage of 3.7v, but they have worked just fine from LiPo voltage which can get as low as 3.3v. Overall there are 96 LEDs.
The Software
The code is written in C++ and uploaded using the arduino uploader. To interface with the LEDs, I used the FastLed library. The physical location of each LED in 3D space is stored in the code, and I am able to use these locations along with the accelerometer data to make animations which change depending on the cube's orientation (see video). This is done using a 3D rotation matrix.
Amazingly, even though the microcontroller has to calculate the rotated position for all 96 LEDs every frame, the esp8266 still manages to get render at ~100fps. Pretty impressive for a $1.5 microcontroller doing linear algebra.
// rotating angle t around axis u
Matrix<3,3> rotationMatrix = {
      cos(t)+pow(ux,2)*(1-cos(t)), ux*uy*(1-cos(t))-uz*sin(t),  ux*uz*(1-cos(t))+uy*sin(t),
      uy*ux*(1-cos(t))+uz*sin(t),  cos(t)+pow(uy,2)*(1-cos(t)), uy*uz*(1-cos(t))-ux*sin(t),
      uz*ux*(1-cos(t))-uy*sin(t),  uz*uy*(1-cos(t))+ux*sin(t),  cos(t)+pow(uz,2)*(1-cos(t))

Matrix<3,1> point = {point[0], point[1], point[2]};
Matrix<3,1> rotatedPoint = rotationMatrix * point;
Inspired by maker.moekoe: https://www.youtube.com/watch?v=6NPTslF68Q0