Github repo with 3D files: https://github.com/jyjblrd/wigglegramLens
Introduction
I gotta admit that half of the reason I bought a film camera was to post cool looking pictures on Instagram, so when I saw these things called "wigglegrams" on IG I immediately wanted to make my own. I found out that they are typically made with a Nishika camera which has 4 lenses to capture 4 seperate images, which can be animated into a 3D looking video.
Unfortunately, these cameras have skyrocketed in price over the last few years (due to film normies like me), and are also notorious for their terrible build quality. I wasn't ready to spend a couple hundred dollars just to make my IG feed look a bit less boring, so I instead started to design my own Canon FD mount wigglegram lens to use with my Canon A-1.
Squeezing 3 Photos into 1 Frame
The Nishika camera that I was trying to emulate took 4 photos across 2 frames of film (thus creating 4 half frame images). However, since I wanted to use this lens on a normal unmodified film camera, I instead decided to squeeze three images on to one frame. This unfortunately creates a pretty thin wigglegram so framing is a bit hard – especially since there is no viewfinder (more on this later). It also means that the lenses are closer together: the distance from the rightmost to leftmost lens is 24mm on my wigglegram camera compared to the 54mm of the Nishika. So to get a good wigglegram, you have to get pretty close to the subject.
Camera Lenses
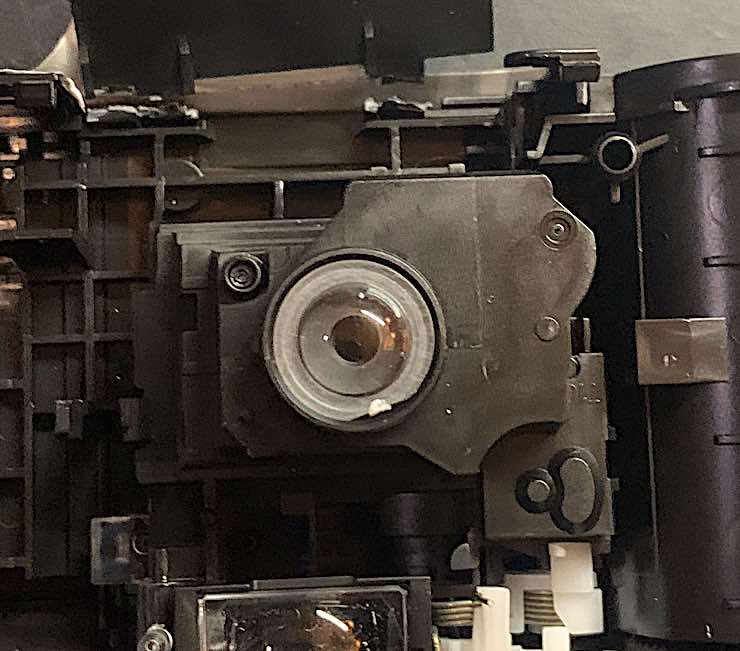
The only parts of this lens that aren't 3D printed are the 3 plastic lenses and a few screws. The lenses came from expired disposable cameras I got for dirt cheap on the Hong Kong version of Ebay. After passing out the disposable cameras at a party, I was left with 3 rolls of pretty terrible photos and 3 plastic 30mm lenses. It's pretty easy to get the lenses out of the camera, you just need to rip it apart until you reach the lens (and while you're at it, salvage the flash module and build a small camera flash!).
The Design
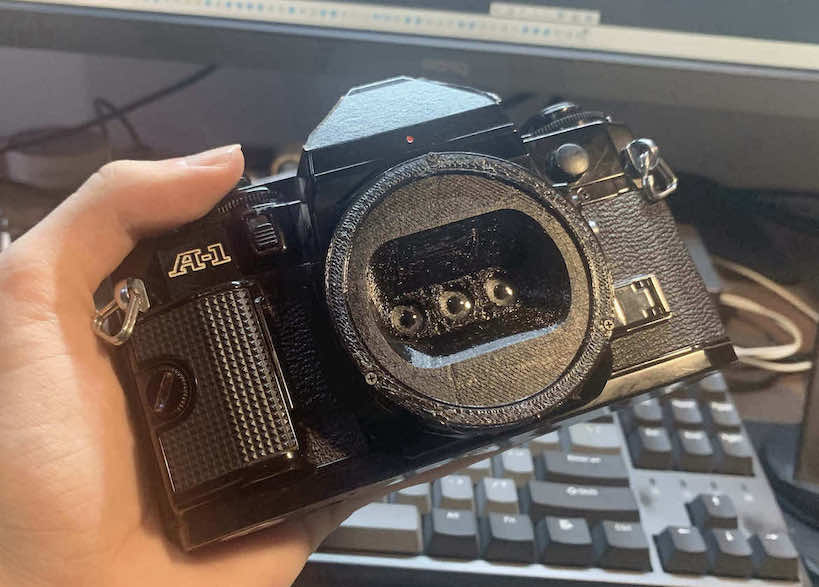
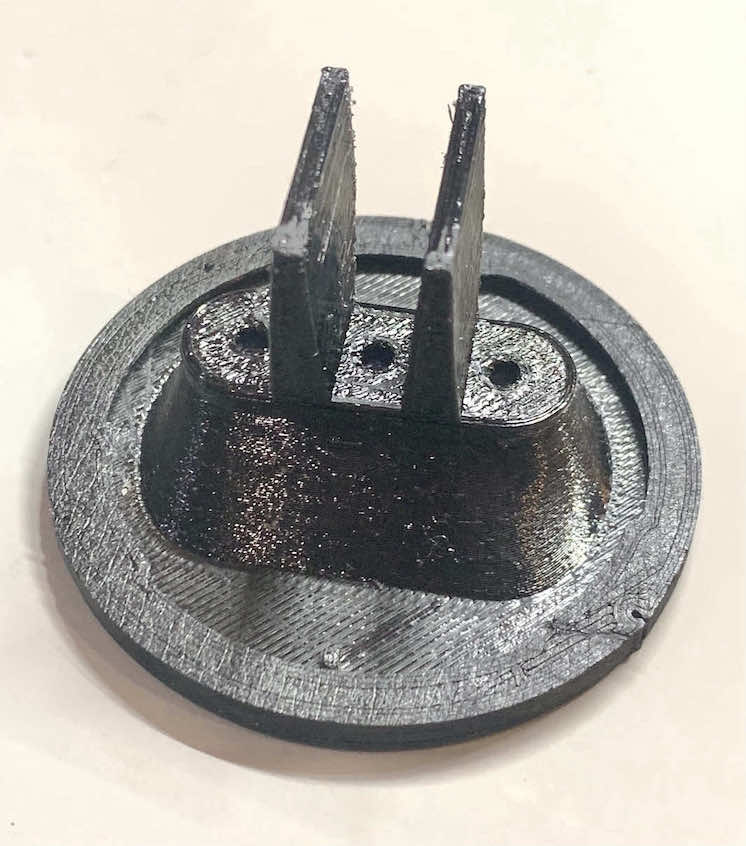
I modeled up the lens in Fusion 360. It's a pretty simple design, however it was a bit of a pain to figure out how far away the lens should be from the film plane to get the image in focus. I wanted things from about 0.2–1.5m to be in focus since I would be primarily shooting things close to the lens. At first, I tried to calculate the distance to use, but eventually I just decided to make a ton of designs to slowly hone in on the right distance. The lens has a relatively small aperture of f/10, so it doesn't have to be super precise. The final distance from the lens to the film plane was somewhere around 30mm (obviously, since the lens has a focal distance of 30mm), which meant that the lenses are recessed into the camera body by about 10mm.
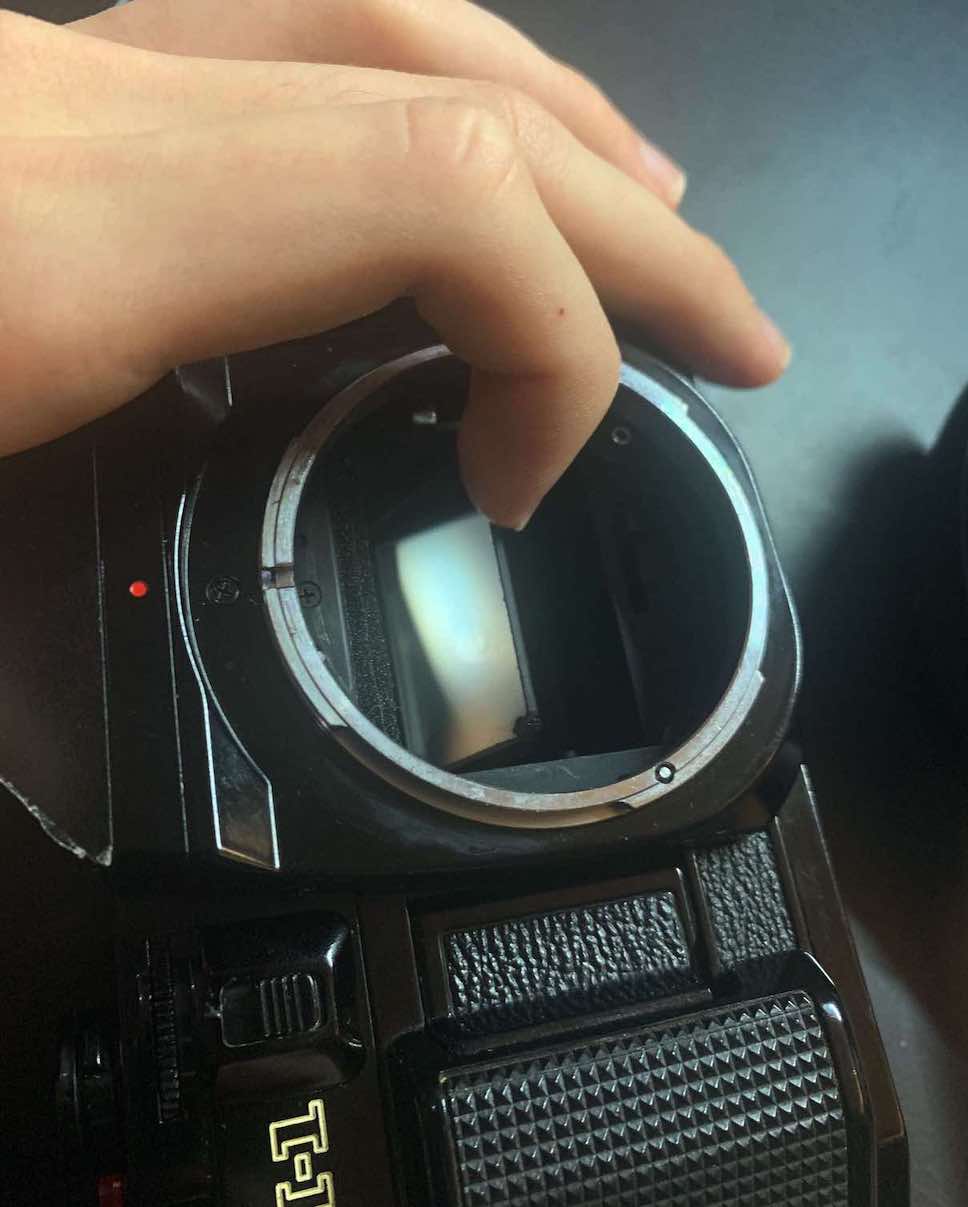
To keep the three images separated, there has to be a divider between each lens that extends into the camera all the way to the film plane. This was a bit of a problem for my Canon A1 since it is a SLR camera – meaning that the mirror for the viewfinder is in the way. Some SLR cameras have a "mirror lockup" feature which allows you to flip this mirror up and out of the way (normally used to prevent camera shake when taking a photo), however my camera doesn't have this. I instead just kinda push the mirror up when putting on the lens, being careful not to smudge the mirror in the process. Unfortunately this also means that you don't have a viewfinder to preview the image, but that's a luxury I can live without.
Stitching the Images Together
A common complaint of wigglegrams is that it is a pain to animate the frames together in photoshop, but thankfully there is actually another method which no one really seems to talk about. Recently a company called Reto Project released the Reto 3D, a wigglegram camera which takes 3 half frame images. Alongside this product, they also published an app which allows you to easily create wigglegrams. It costs a few dollars but it's definitely worth it.
Some Examples
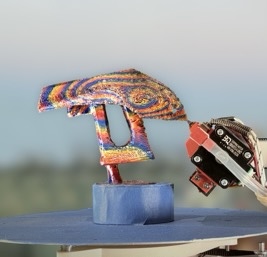
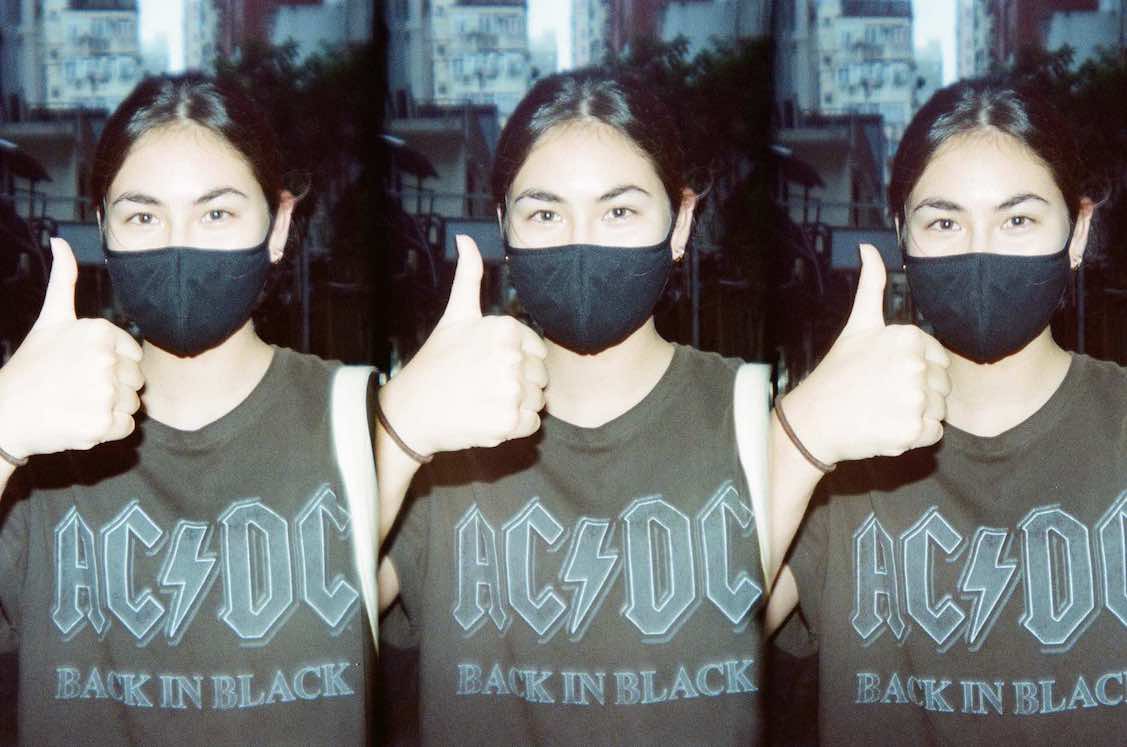
I've put about a roll of film through this lens and I've been really impressed with the results. It turned out far better than I expected, and the plastic disposable camera lenses are surprisingly sharp. A few of the photos didn't turn out, mainly due to bad framing (there has to be a very well defined foreground, midground and background)
Film Boomerang?
Ok this is a completely unexpected (but very welcomed) feature. The shutter of my camera moves from right to left, meaning that the rightmost frame is exposed slightly before the leftmost frame (probably by only 10ms or so). This means that there is a slight "instagram boomerang" effect. This really is the perfect lens for IG! This boomerang effect only happens when not using flash, however, since the camera flash exposes the whole frame at the same time.
Conclusion
I am extremely impressed with how well this project worked out – even if I was given the option I would still choose to use this lens over a Nishika. I was inspired by this similar creation by George Moua, however his version is for digital cameras and you have to pay for the 3D files (you can get the files for this project for free on my github repo!)